Thursday, December 15, 2016
The race is on!
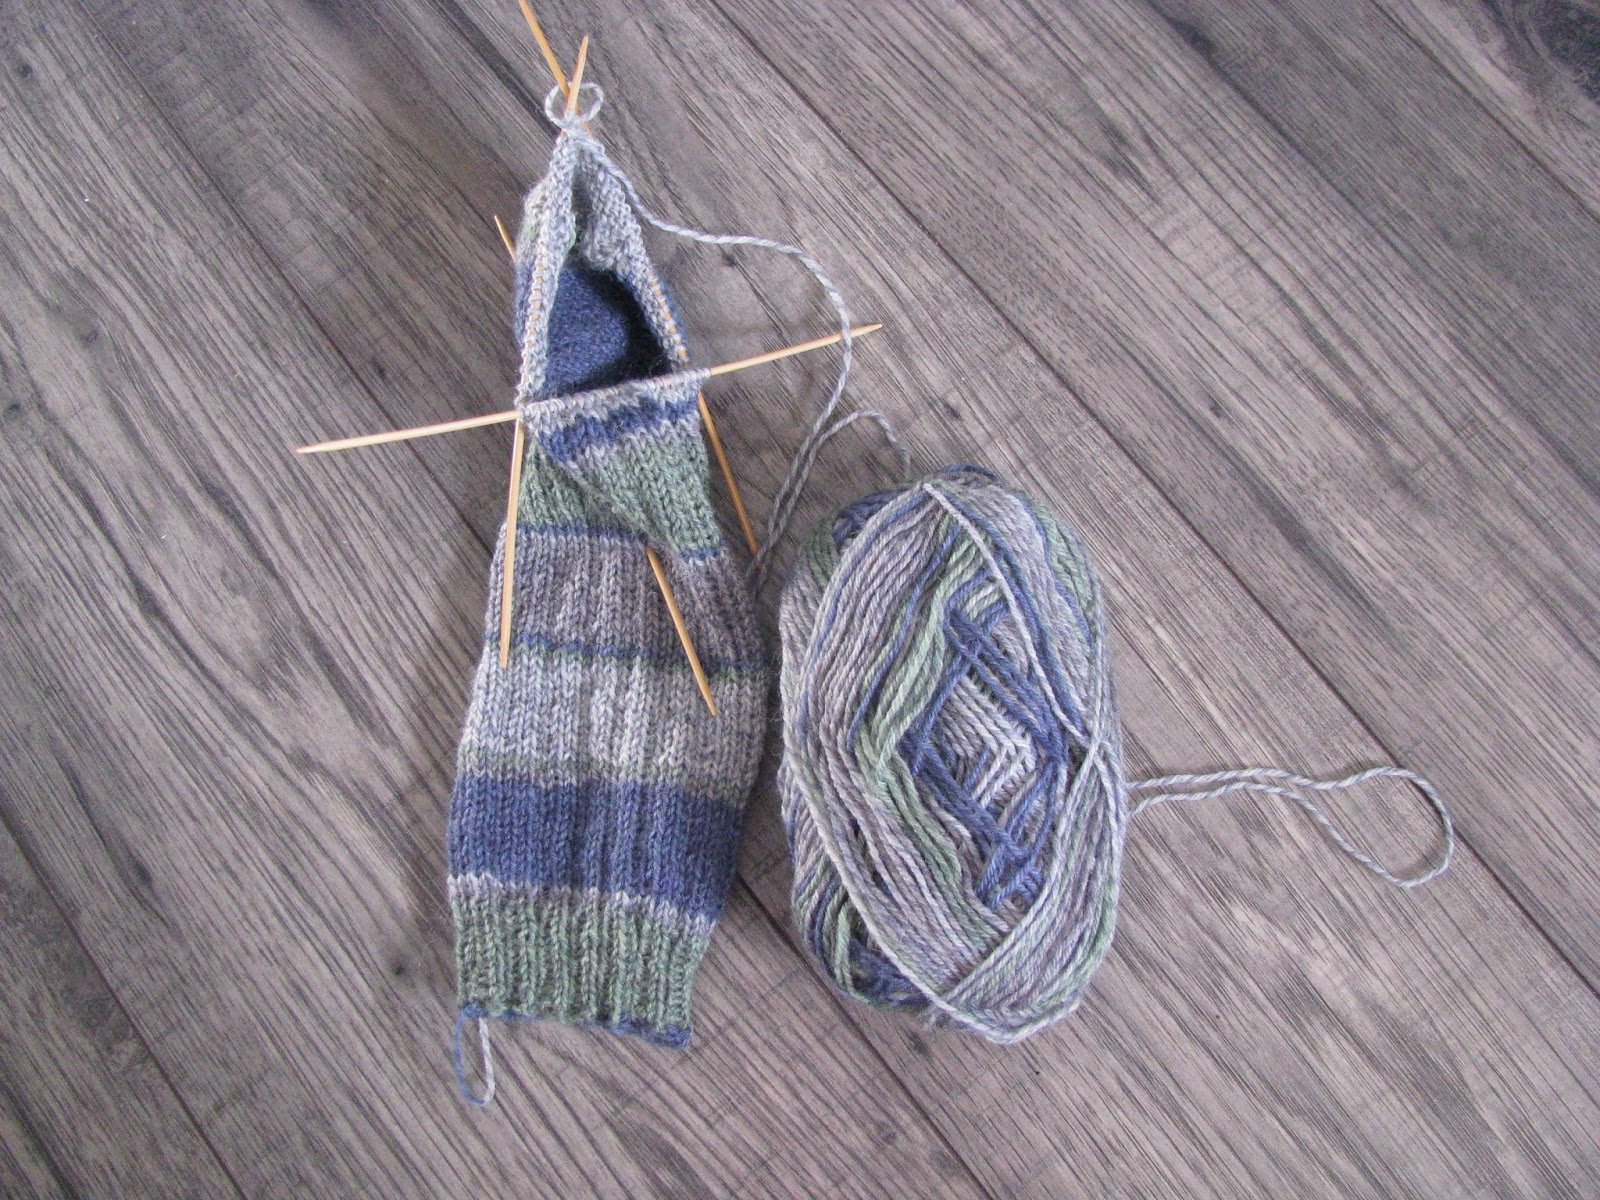
As usual, I find myself snatching any spare moment to knit away at socks. It is a staple of my gift giving, and so many of my friends and family expect (at least ) one pair under the tree. So remember to pick up your double point bamboo needles, and whip up a few using my favourite sock pattern.
 Happy knitting, and stay warm.
Friday, November 25, 2016
Black Friday Event! Extended until Cyber Monday
I am having my first Black Friday Sale on my Etsy site! All my Felt Items (except the custom made coats) are up for at least 25% off, and for a very limited time I have posted my KNIT SAMPLES from this blog, up for the cost of the yarn only!
Here is your chance to love the items, and just buy it already finished.
So please pop over using THIS LINK, or the photo of the butterfly coat in the upper right corner. Contact me there if you have further questions.

Here is your chance to love the items, and just buy it already finished.
So please pop over using THIS LINK, or the photo of the butterfly coat in the upper right corner. Contact me there if you have further questions.

Thursday, November 10, 2016
Quick and Easy Shawl
Quick and Easy Shawl
The beauty of this one lies in the long stripes that this yarn produces. The start of the shawl has the stripes close together and as you progress they get fatter and wider. Garter stitch makes this a beginner pattern!

Gauge: 12 - 14 sts = 4 inches in garter stitch on 6mm (US 10) needles. (not terribly important to hit this gauge)
Needles: 6mm or US 10, long circular needles (not knit in round, but best to hold that many stitches.
PATTERN:
Cast on loosely, 140 stitches.
Row 1: Knit 2 sts, knit 2 together, knit to end of row.
Row 2: Knit to end of row.
Repeat row 1 and 2 until you have one stitch left, and fasten off.


Thursday, September 22, 2016
Sock Yarn Block Shawl (cowl)

Sock Shawl / Cowl
This pattern is NOT for beginners, but it is fun and
addictive, and you only work on 25 stitches at a time, building the blocks
together into a funky zig zag shawl or cowl.
There are many videos of Domino Knitting Squares, if you are
unfamiliar with the technique. You can
find one HERE or HERE.
Yarn: Self striping sock yarn (Kroy – grey brown marl) 4
skeins
Needles: 4mm (US 6) I
use circular needle for this, but straight needles are fine too
Gauge: approx 20 sts = 4 inches, AFTER BLOCKING. Its not too important that you match this, as it is a wrap-shawl-cowl. The one I made, after joining as a cowl is wrapped twice around my neck!
Finished length (after blocking) just under four feet. (and very stretchy)
***Follow the drawings of the blocks to make sure you are
sticking to the plan. I will use the
alphabet assignments in the photos for reference in the pattern
Block A: Cast on 49 sts. Row 1: Knit 25, place marker, Knit 24.
Row 2: Knit 22, knit 2 together, slip marker, knit one, knit 2 together, knit 22.
Row 3 (and all odd rows): Knit to stitch BEFORE marker, purl that stitch, slip
marker and knit the rest.
Row 4 (and all even rows) knit to
2 sts BEFORE marker, knit 2 together, slip marker, knit one, knit 2 together,
knit the rest. Repeat until only 3 sts remain and knit all three together.
(only one stitch on your needle.
Block B: With this stitch at upper right corner of square,
pick up 25 stitches across the top of the just worked square (place marker just
before last pick up). Cast on 24 more stitches. Now turn and work exactly like
the first square starting with row 1.
When reduced to one stitch, begin
the next square above the last. Continue to build squares C and D in the method
of block B. Bind off last stitch at the
end of block D, and break yarn.
Block E: Cast on 24 stitches, then pick up one stitch
right at the corner of block A and B (see chart photo), then pick up 24 more
evenly across the upper part of Block B.
Work the block as in A from row 1.
Block F: Pick up 25 across the left side of block E,
(make sure the 25th stitch is right in the corner of where B and C
meet) and then pick up 24 more across the top of block C. Work as usual.
Block G: like block F.
Block H: Pick up 25 on the left
side of G, then CAST ON 24 more (this part is not attached to any other
side). Work the block as usual (see the
photos in the chart to see where this block is placed).
Block I: like
E.
Block J and K: Like F
Block L: Like H
Block M: Like E
Block N and O: Like F
Block P: Like H
Gently wash and block flat.
This is now a zig zag shoulder
wrap or shawl. Wear it like that….. OR……
COWL VERSION: carefully turn it into a TUBE, matching the
bottom edge of A with the top edge of N (place pins on these squares before you
make the tube so you can see how this lines up.
It’s a diagonal seam , sewing A tyo N, and B to O, and C to P. Sew this seam with Kitchener stitch (and not
too tightly).


Sunday, April 24, 2016
Sock Yarn Shawl
My wonderful new friends at YarnCanada.ca have sent me some of my favourite sock yarn to play with, and I have decided to create a new shawl pattern with this yarn.
 I will create a design the shows off the thick stripes of this particular colourway, the Grey Brown Marl Kroy, and will post the pattern on a future entry. Meanwhile if you would like easy access to a great mail order site, please pop over to www.yarncanada.ca, and pick up four balls of Kroy for this shawl project, or two balls of Kroy for my most knit pattern: The Best Sock Pattern Ever!
 Here is another photo of The best sock pattern ever, featuring an old colourway of Kroy Sock Yarn. Kroy yarn has been my "go to" yarn for socks, as it is durable, washable and stands up to many years of wear, and it has great colours every year. This pattern fits well and even beginners seem to "get" the heel turn (sometimes with a little local yarn shop help).
 See you in a couple of weeks with the finished shawl! Happy knitting.


Monday, January 18, 2016
Sewing Tip. Keep your Fluevogs young and beautiful!
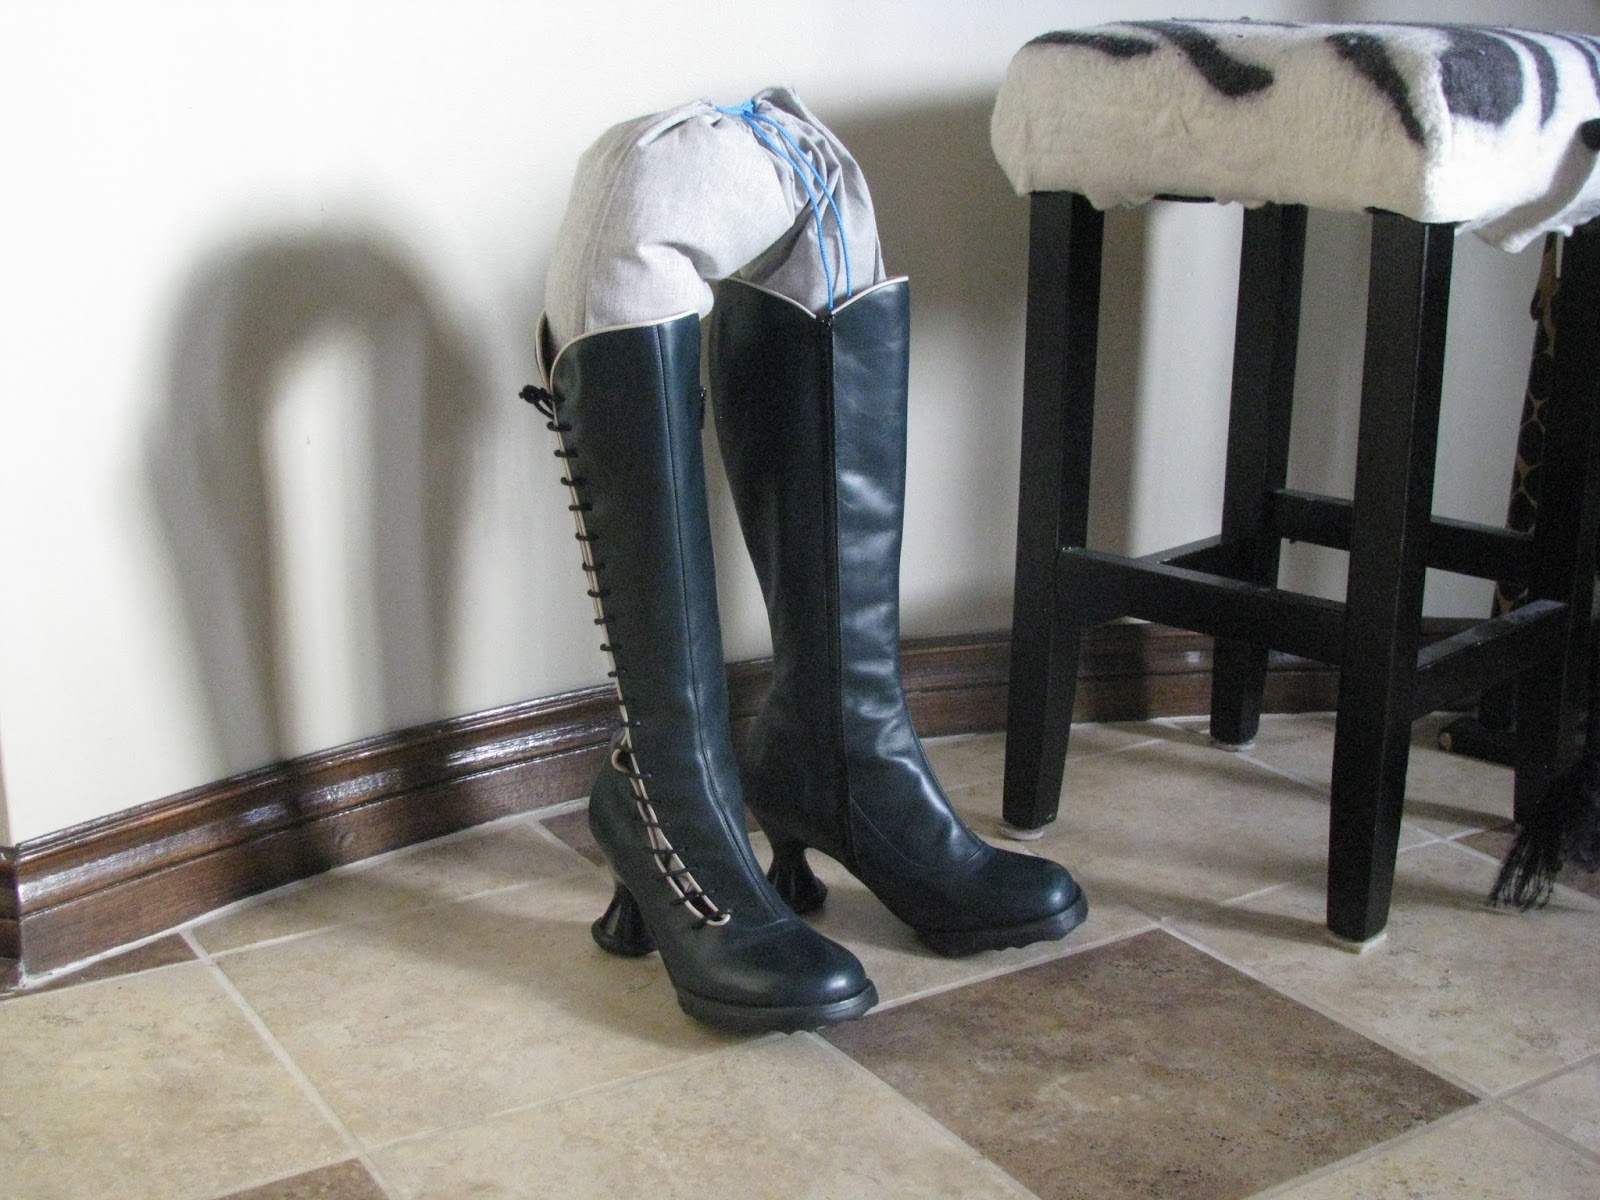
I just received my newest booties. They are Sugars from my favourite Canadian shoe designer John Fluevog. If you have not spent time on his website, prepare to be captivated by beautiful, creative and stunning footwear!
As I did with my Luna boots, I made a boot support out of the cool boot bag that they sent along with the lovelies.... First a photo of the wonderful boots!
 Next the bag with pins where the "legs" will be.
 Sew the new seam.
 Then turn it (clip the curve first) and throw some light stuffing into the "legs".
 Now insert into boots, I even zipped them in for a sturdy fit, and you can see them standing proudly in my hallway, waiting to be let outside! This preserves the leather from getting creases due to fold over or collapse in your closet. Take good care of your Fluevogs, and they will compliment you forever.

As I did with my Luna boots, I made a boot support out of the cool boot bag that they sent along with the lovelies.... First a photo of the wonderful boots!


Subscribe to:
Posts (Atom)